Materials:
- 12 onesies or infant t-shirts. (Note: I made the above set based on size and weight listed on the labels since it was a gift. For Will's I have all the numbers printed and just iron it to one of the t-shirts that fit him each month.)
- Iron on transfer paper for fabrics. (I found Jet-Pro SofStretch by Neenah Paper to be the best and I found mine on Amazon. It washes well and doesn't crack or peel like some of the other brands do).
- Template's found here, here, and here. (Thank you Martha Stewart)
- Ink jet printer. (I think you need special paper to print on a laser printer.)
- A good sharp pair of scissors
- Iron
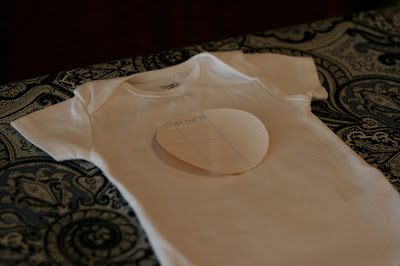
Getting ready to iron on. They will print 4 to a page so you'll need to cut them out. Since I'm printing on white t-shirts, I just cut as close to the colour as possible.
The numbers need to be printed backwards, that way once they're ironed on they will be readable. These templates are already mirrored.
Center on your t-shirt about an inch down from the collar.
Iron according to the instructions that come with the transfer paper. You need a very hot iron and apply a lot of pressure. Remove the paper backing while it's still warm.
And you're done!
For more of today's photos, look here


Love it! So creative, simple, and colorful!
ReplyDeleteKatie you're so talented! I'm making these for my girlfriend's baby shower. Thanks for the info :)
ReplyDelete